

Via Ferrata Hoher Dachstein
Location: Dachstein
Difficulty: A/B (alpine approach with glacier!)
Duration: 2–4 h from top station
Description: Short protected sections on a mountaineering approach—glacier gear/conditions knowledge required.
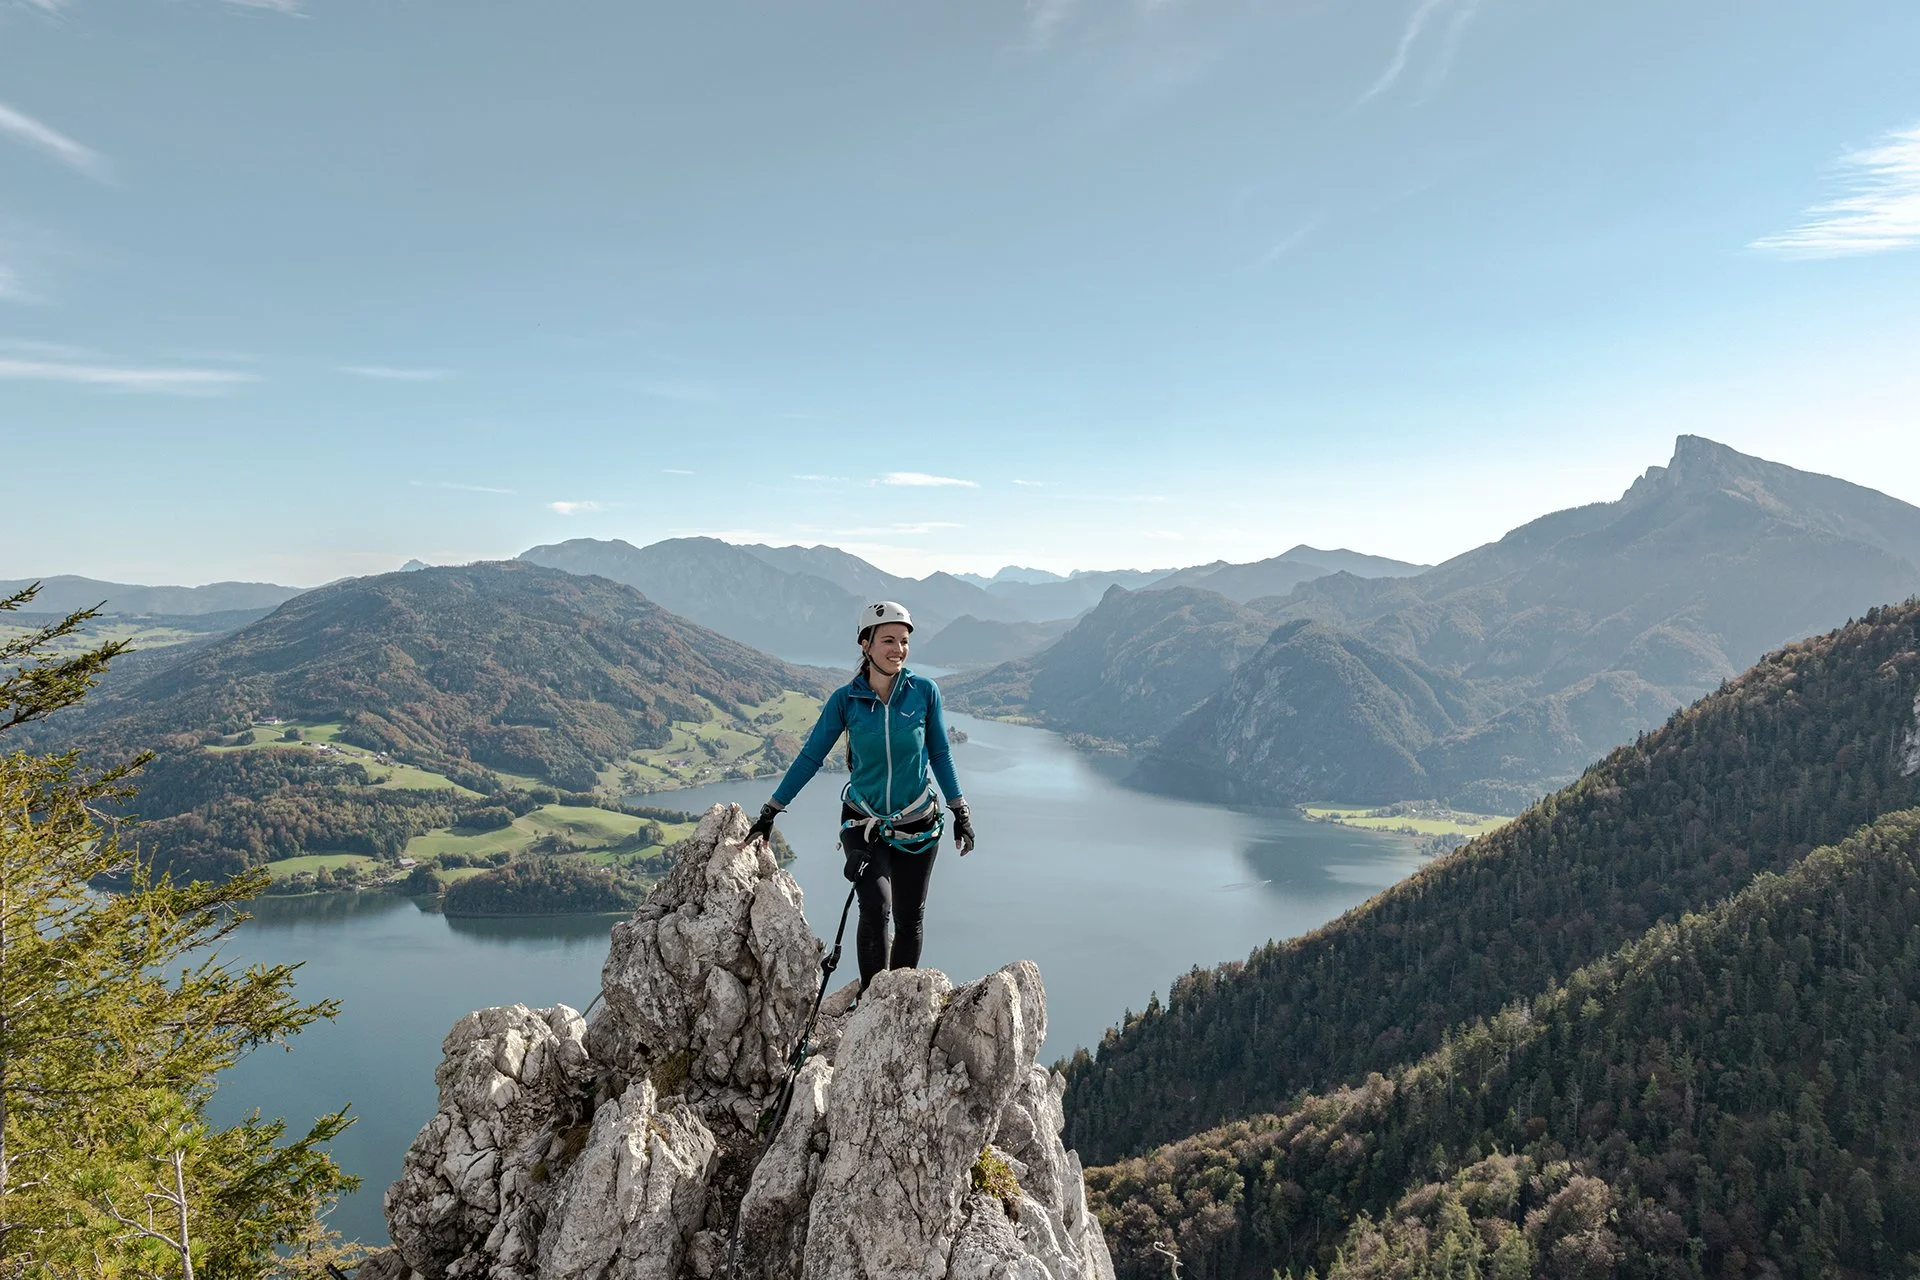
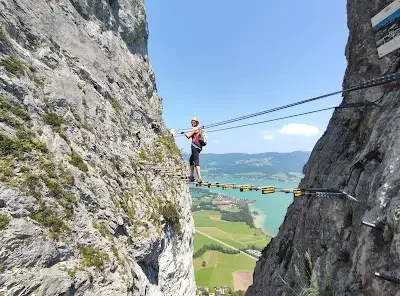
Via Ferrata Drachenwand
Location: St. Lorenz am Mondsee
Difficulty: C/D | Duration: 2–3 h
Description: Hugely popular wall with lake views; airy final ridge (note: listed under Upper Austria in many guides).
Via Ferrata Dürrenstein
Location: Lunz am See area
Difficulty: B/C | Duration: 2–3 h
Description: Alpine meadow approach to a scenic summit; friendly difficulty.

Via Ferrata Wildfährte
Location: Hohe Wand
Difficulty: C | Duration: 1–2 h
Description: Moderate ferrata with nice ledges—good progression route.
Via Ferrata Völlerin
Location: Hohe Wand
Difficulty: C/D | Duration: 1–2 h
Description: Steep, varied line with traditional character.
Via Ferrata HTL-Steig
Location: Hohe Wand
Difficulty: D | Duration: 1–2 h
Description: Compact, athletic testpiece; short but intense.
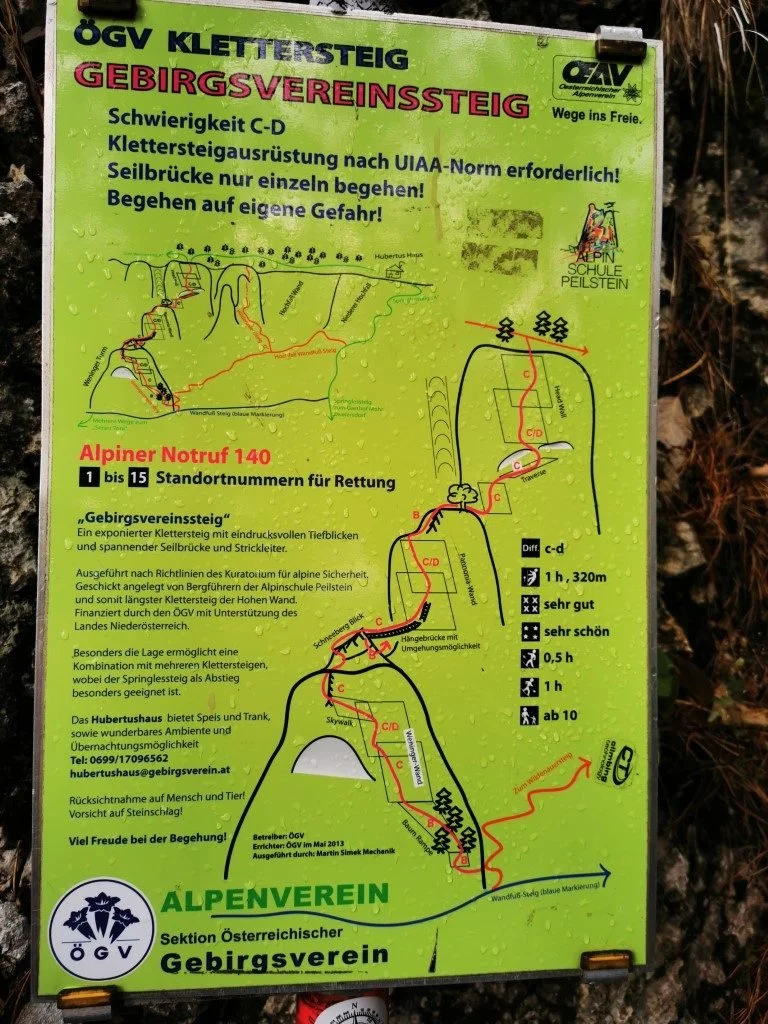
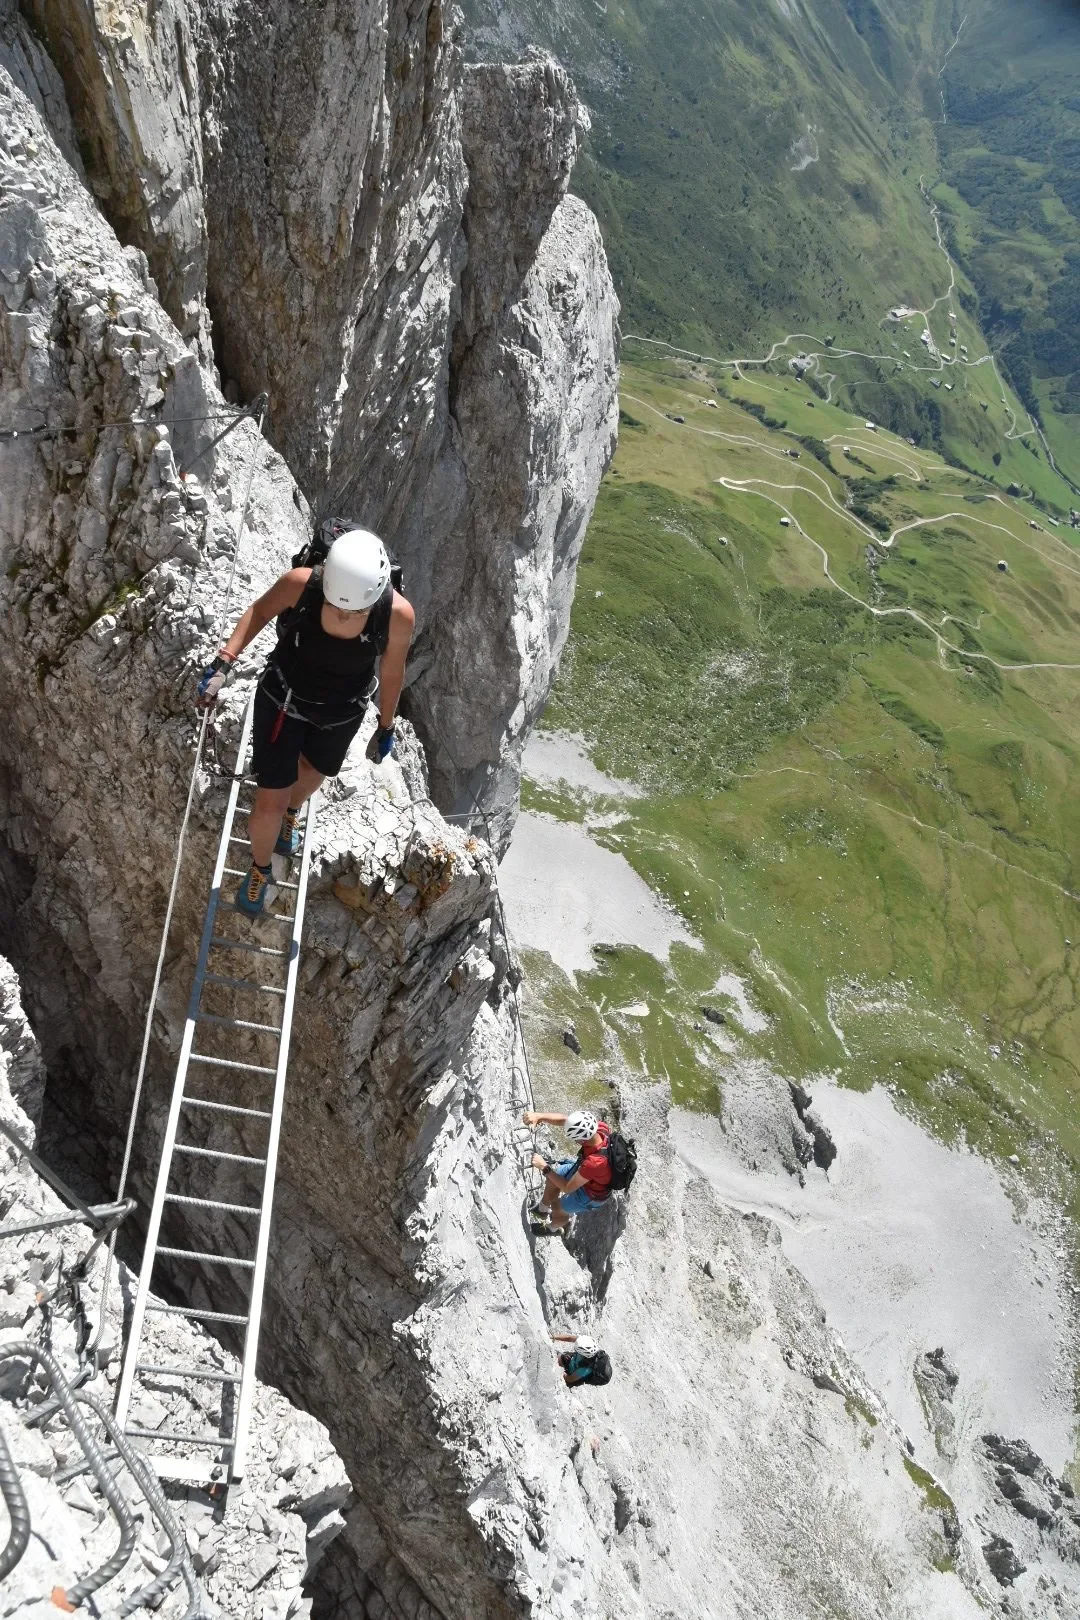
Via Ferrata Gebirgsvereinssteig
Location: Hohe Wand plateau (near Wiener Neustadt)
Difficulty: C/D | Duration: 1.5–2.5 h
Description: Classic steep Hohe Wand ferrata; exposed ladders and walls.

Via Ferrata Gargellner Köpfe
Location: Montafon
Difficulty: C/D | Duration: 2–3 h
Description: Summit-orientated line with solving steps and fine views.
Via Ferrata Sulzfluh
Location: Rätikon (AT/CH border)
Difficulty: C/D | Duration: 4–6 h
Description: Historic route with tunnels and ledges; unique alpine character.

Via Ferrata Zimba-nah
Location: Montafon / Brandnertal
Difficulty: B/C | Duration: 1–2 h
Description: Practice lines below the “Vorarlberg Matterhorn”; great warm-up.

Via Ferrata Säuleck / Röbischlucht
Location: Montafon
Difficulty: C/D | Duration: 2–3 h
Description: Gorge ferrata with water features and bridges; fun and photogenic.
Via Ferrata Karhorn
Location: Warth/Lech (Arlberg, Vorarlberg)
Difficulty: B/C to C/D (ridge) | Duration: 3–5 h
Description: Superb ridge traverse with constant views; perfect on stable weather days.
Via Ferrata Drachenwand
Location: Klopeiner See region (note: not to confuse with Salzkammergut Drachenwand)
Difficulty: C | Duration: 2–3 h
Description: Popular local wall with steady difficulty and lake scenery.

Via Ferrata Trogkofel / Gartnerkofel
Location: Nassfeld / Carnic Alps
Difficulty: B/C to C/D | Duration: 2–4 h
Description: Limestone ridges and faces above ski terrain; great views into Italy.

Via Ferrata Cellon
Location: Plöckenpass (AT/IT border)
Difficulty: C/D | Duration: 3–4 h
Description: Historic border peak with WWI tunnels nearby; alpine ambience.

Via Ferrata Türkenkopf
Location: near Bad Eisenkappel / Vellach valley
Difficulty: D | Duration: 1.5–2.5 h
Description: Short, steep and exposed headwall with a dramatic outlook.

Via Ferrata Rotschitza
Location: Faaker See / Finkenstein
Difficulty: C/D | Duration: 2–3 h
Description: Waterfall and gorge passages with bridges; great summer option.
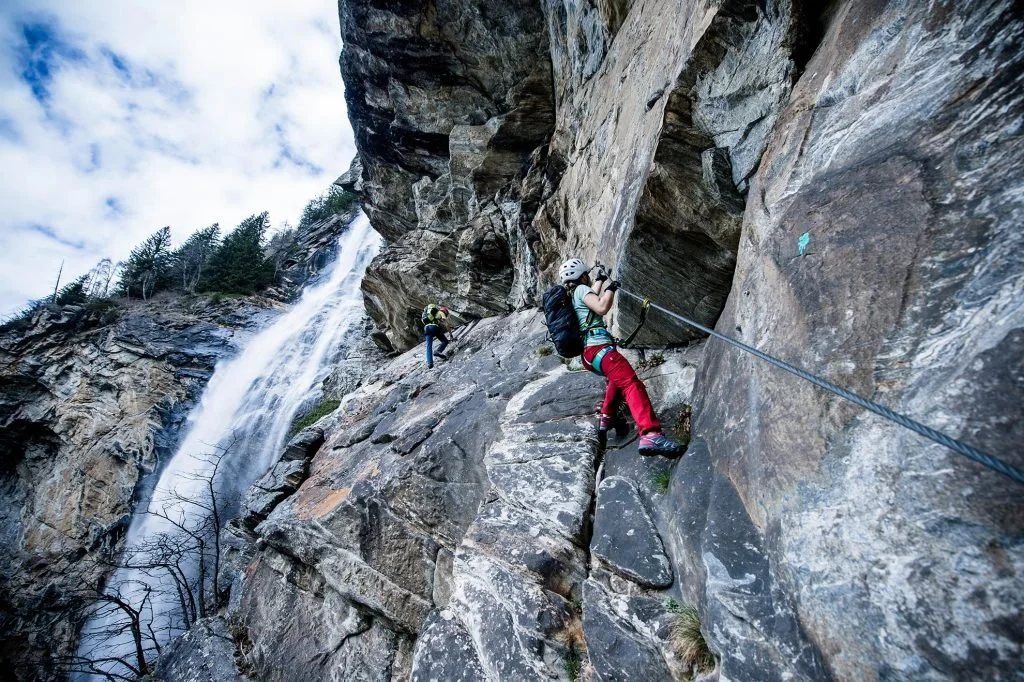
Via Ferrata Fallbach
Location: Maltatal
Difficulty: C/D | Duration: 1.5–2.5 h
Description: Striking waterfall route—wet, airy and very photogenic.

Via Ferrata Grimming
Location: Ennstal
Difficulty: C/D (routes vary) | Duration: 3–6 h
Description: Serious mountain with demanding approaches; check access.

Via Ferrata Eisenerzer Reichenstein
Location: Eisenerz Alps
Difficulty: C/D | Duration: 3–5 h
Description: Ridge and walls to a panoramic summit; classic in the area.